
目次
手順
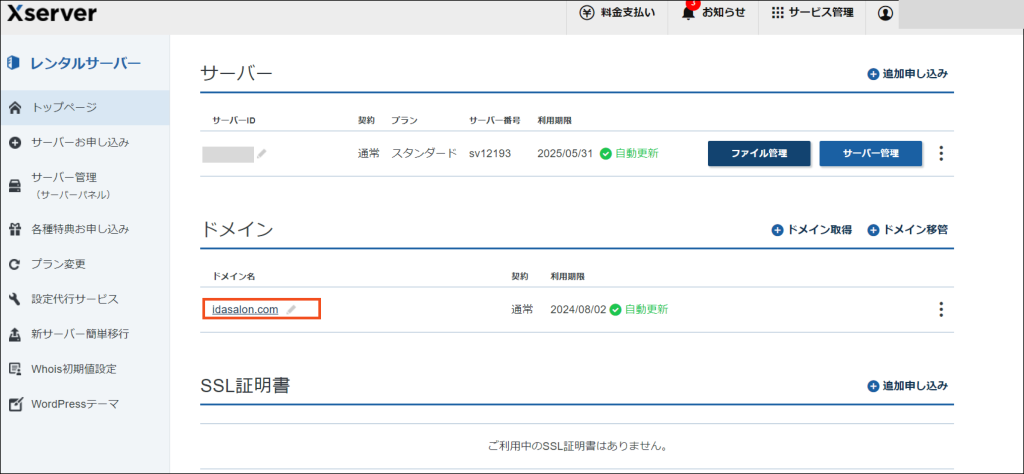
▼Xserverレンタルサーバの管理画面にログインし対象のドメインを選択
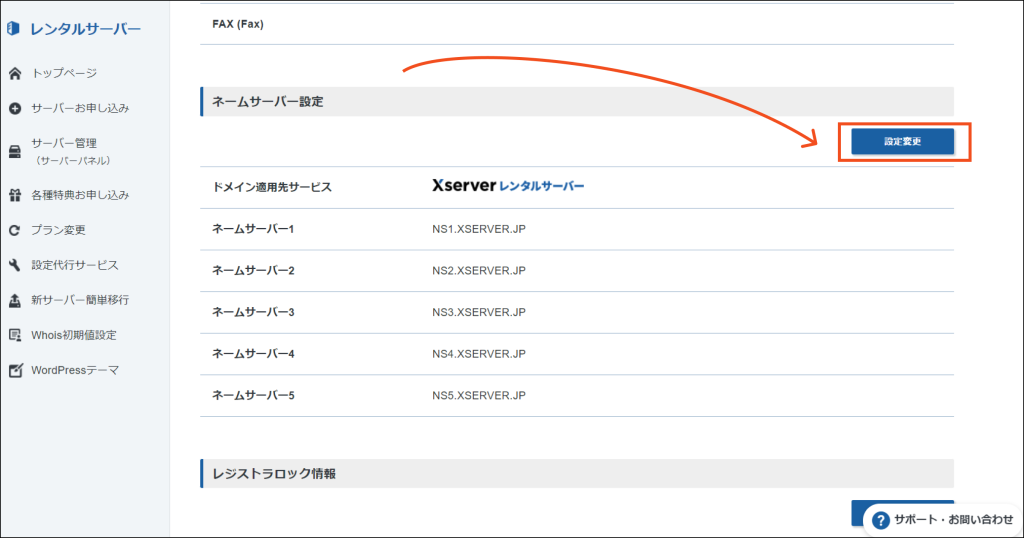
▼ドメインの契約情報のネームサーバー設定の「設定変更」を選択
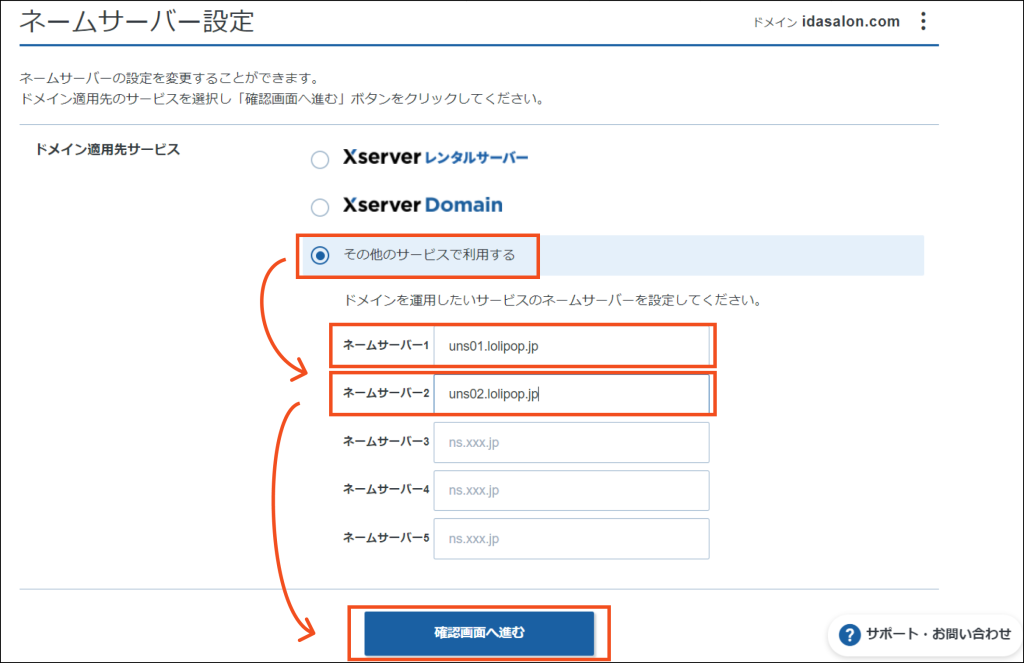
▼その他のサービスで利用するを選択しネームサーバー1、ネームサーバー2に下記の通り入力
| ネームサーバー1 | uns01.lolipop.jp |
| ネームサーバー2 | uns02.lolipop.jp |
確認画面へ進むをクリック
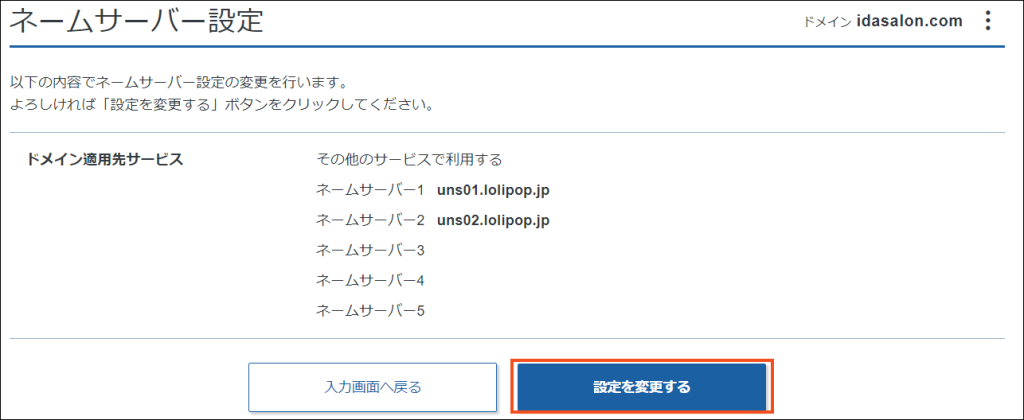
▼「設定を変更する」をクリック
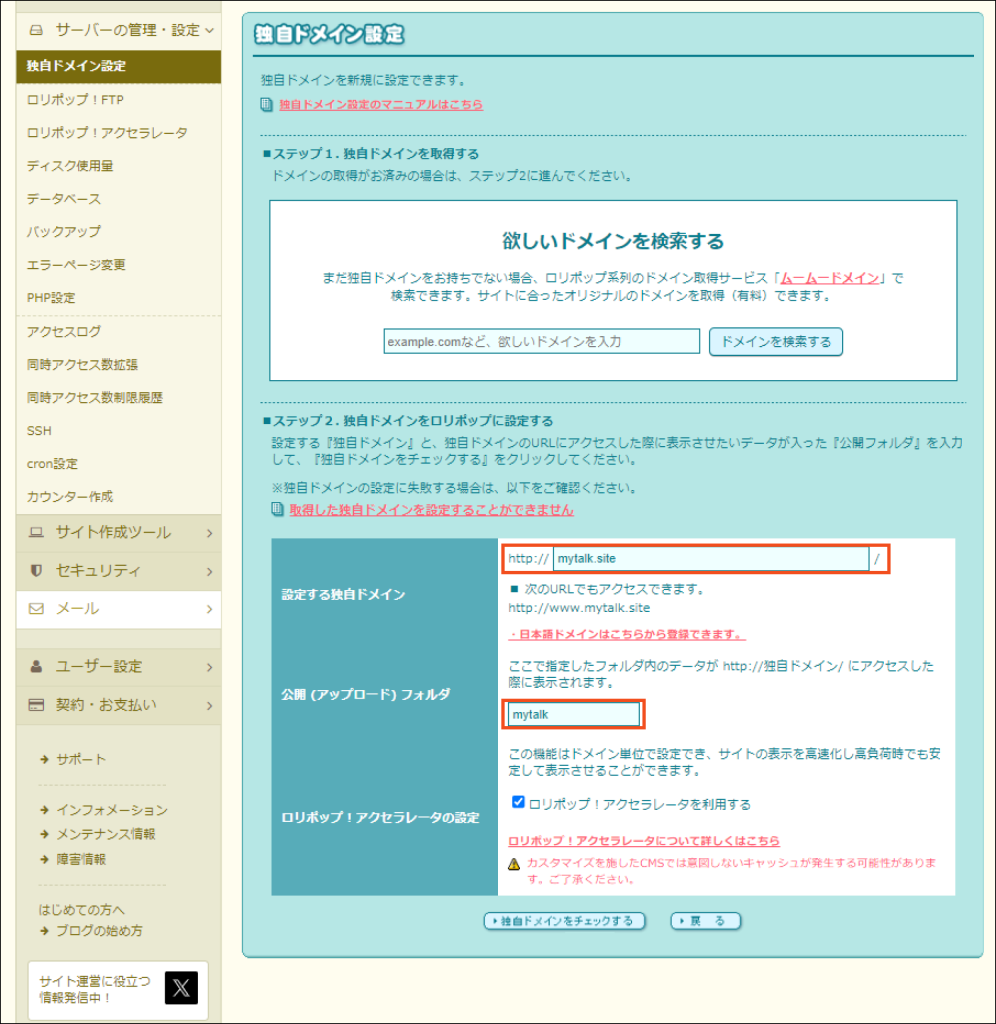
▼ロリポップユーザー専用画面にて
公開(アップロード)フォルダについては複数のドメインを運用する場合は必ず入力


コメント